Blogman
Minimal WordPress Personal Blog Theme
- by: Awaiken
- themeforest.net/user/awaiken
- email: support@awaiken.com
Thank you for purchasing our WordPress Theme. If you have any questions that are beyond the scope of this documentation, please feel free to email us via our contact form on our profile page http://themeforest.net/user/awaiken or via email support@awaiken.com
About The Theme
Theme Requirements
- WordPress v5.0 or higher
- PHP 7.4 or higher
- Memory limit (memory_limit) should be atleast 128MB
- Maxium File Upload size (upload_max_filesize) should be atleast 32MB
Features
- Responsive Design
- Live Customization Options
- Google Fonts Supports (You can change body and heading tag fonts)
- 4 Post Formats Supports
- Standard Posts
- Video Posts (Supports YouTube, Vimeo)
- Audio Posts (Supports Self-hosted audio, SoundCloud audio)
- Link Posts
- Plugins Supports
- MailChimp for WordPress
- Contact Form 7
- Disqus for WordPress
- Translation Ready
Theme Installation
1) Using WordPress Theme Upload
- Login to your WordPress admin.
- In the "Appearance > Themes" menu click the tab "Install Themes"
- At the top of the page click, "Upload", then click the file input to select a file.
- Select the zipped theme file, "blogman.zip", and click "Install Now"
- After installation you will receive a success message confirming your new install.
- Click the link "Activate"
2) Uploading by FTP
- Login to your FTP server and navigate to your WordPress themes directory. Normally this would be "wp-content/themes"
- Extract the files from the zipped theme.
- Copy the folder "blogman" to your themes directory.
- After the files finish uploading, login to your WordPress admin.
- In the "Appearance" menu click "Themes"
- Click "Activate" for the theme "Blogman"
Install Required Plugins
- Click on "Begin installing plugins". Or go "Appearance > Install Plugins".
- You will see list of plugin need to be installed. Now, check all plugins & select bulk options "install" and click "Apply".
- All plugin will be installed. Now, Click on "Return to Required Plugins Installer".
- You need to active plugins. Now, check all plugins & select bulk options "Active" and click "Apply".
- Click on "Return to the Dashboard" .
Child Theme
If you want to make changes to the theme's files and functions, we recommend installing a child theme. This ensures that your theme customizations stay in place after the theme update. If you are not planning to change the core theme files, you are free to skip this chapter.
Note: Install the child theme before importing the demo data. Otherwise, all of your theme options will be reset.
We have provided child theme of blogman. You can find blogman-child.zip in downloaded package from ThemeForest
Import Demo Data
IMPORTANT NOTE: If your site is running then you don't need to import demo content.
If you want to import data then follow the following steps.
- Go to the admin area "Appearance > Import Demo Data".
- Now, Click on "Import Demo Data" button and then click on "Continue & Import".
Theme Options
This section provides overview of the theme options configuration. It will help you get started quickly by introducing the theme structure and settings. Theme Options are located in "Appearance > Customize"
- Site Identity
- General Options
- Header Options
- Typography
- Layout Options
- Blog Options
- Colors Options
- Author Page
- Footer Options
- Social Media Links
- Social Sharing Options
- Custom JS Code
- Additional CSS
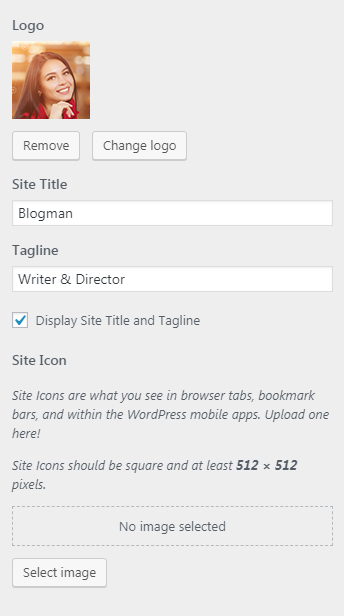
Site Identity
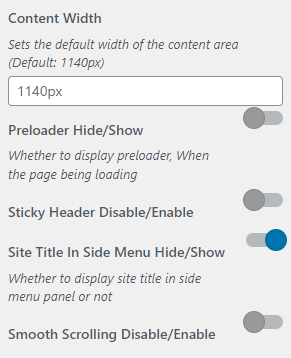
General Options
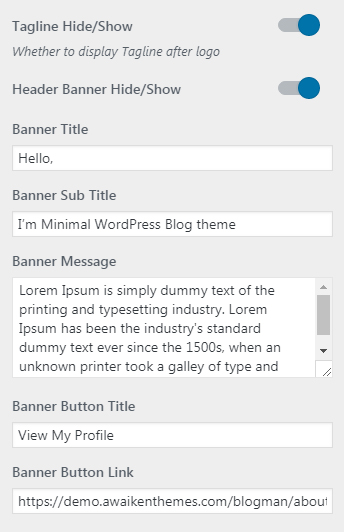
Header Options
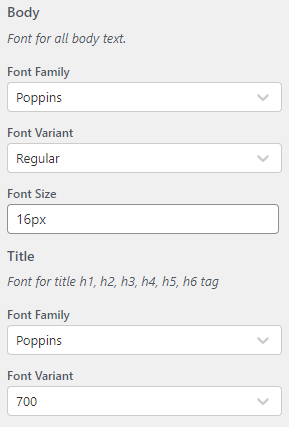
Typography
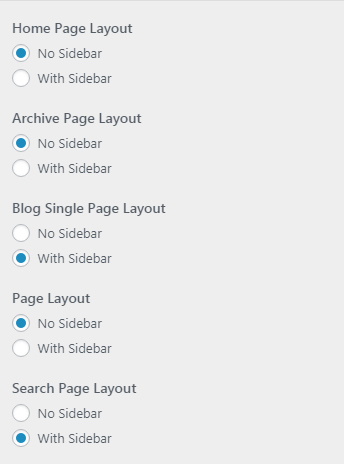
Layout Options
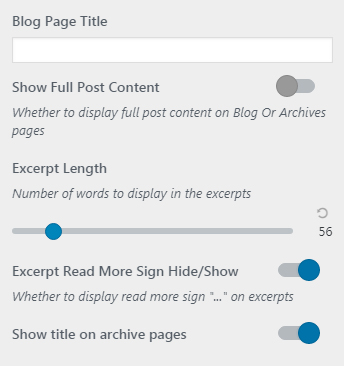
Blog Options
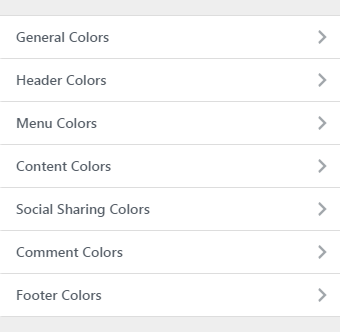
Colors
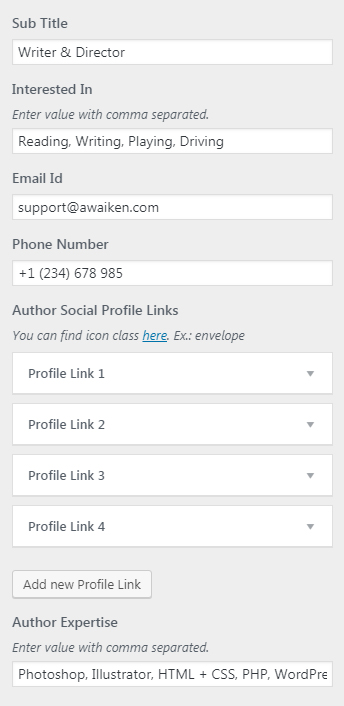
Author Page
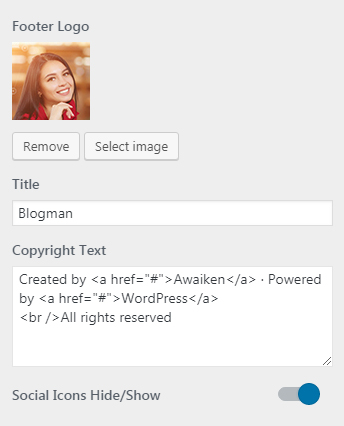
Footer Options
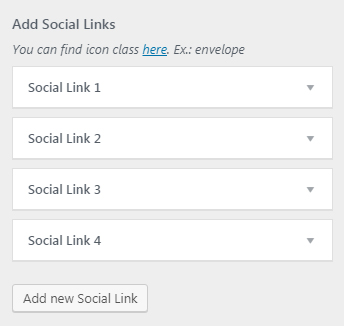
Social Media Links
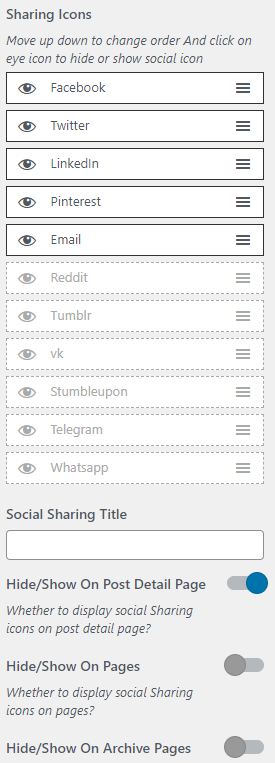
Social Sharing Options
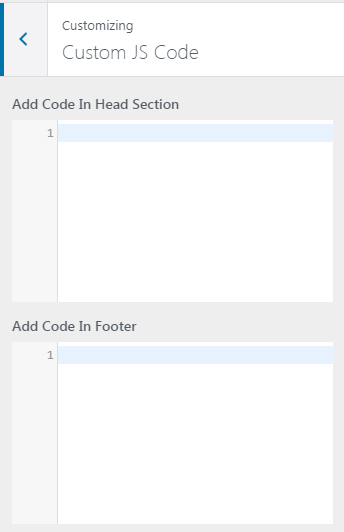
Custom JS
Additional CSS
Posts
Blogman comes with 4 different post formats: Standard, Video, Audio, and Link. We're using plugin Advanced Custom Fields to help you create different posts format. You can install this plugin via Appearance > Install Plugins. After install this plugin, you will see option to add extra detail when you select Video, Audio, or Link post format.
When you write a new post, you need to choose what format your post is and insert the necessary info.
Contact Form
If you have imported demo
If you don't have imported demo
<div class="contact-form"><div class="row">
<div class="form-group col-md-6 col-sm-6">[text* your-name class:form-control placeholder "Your Name"]</div>
<div class="form-group col-md-6 col-sm-6">[text* phone-number class:form-control placeholder "Phone Number"]</div>
<div class="form-group col-md-12">[email* your-email class:form-control placeholder "Your Email"]</div>
<div class="form-group col-md-12">[textarea your-message class:form-control placeholder "Your Message"]</div>
<div class="col-md-12 text-center">[submit class:btn-contact "Submit"]</div>
</div></div>
Setup MailChimp
<div class="mailchimp-newsletter">
<h5>Love reading article?</h5>
<h3>Please subscribe to my newsletter</h3>
<h5>Every Week, you will receive new Freebies!</h5>
<p><input type="email" name="EMAIL" placeholder="YOUR EMAIL" class="txt-news" required /></p>
<p><input type="submit" class="btn-newsletter" value="Subscribe" /></p>
</div>
Theme Update
This section is usefull if you received the notification that a new version of the theme is available.
Note: Backup the current version of the theme before you go ahead with the update.
There are a couple of different ways to update our WordPress theme to the latest version:
Method 1: Install the WordPress Envato Market plugin
Once installed, activated, and setup, the Envato Market plugin will display a notice in your WordPress dashboard when an update is available. To setup:
- Download the ZIP file from here.
- Login to your WordPress Dashboard
- Go to Plugins > Add New
- Click “Upload Plugin” at the top
- Upload the envato-market.zip file
- Once installed, click “Activate Plugin”
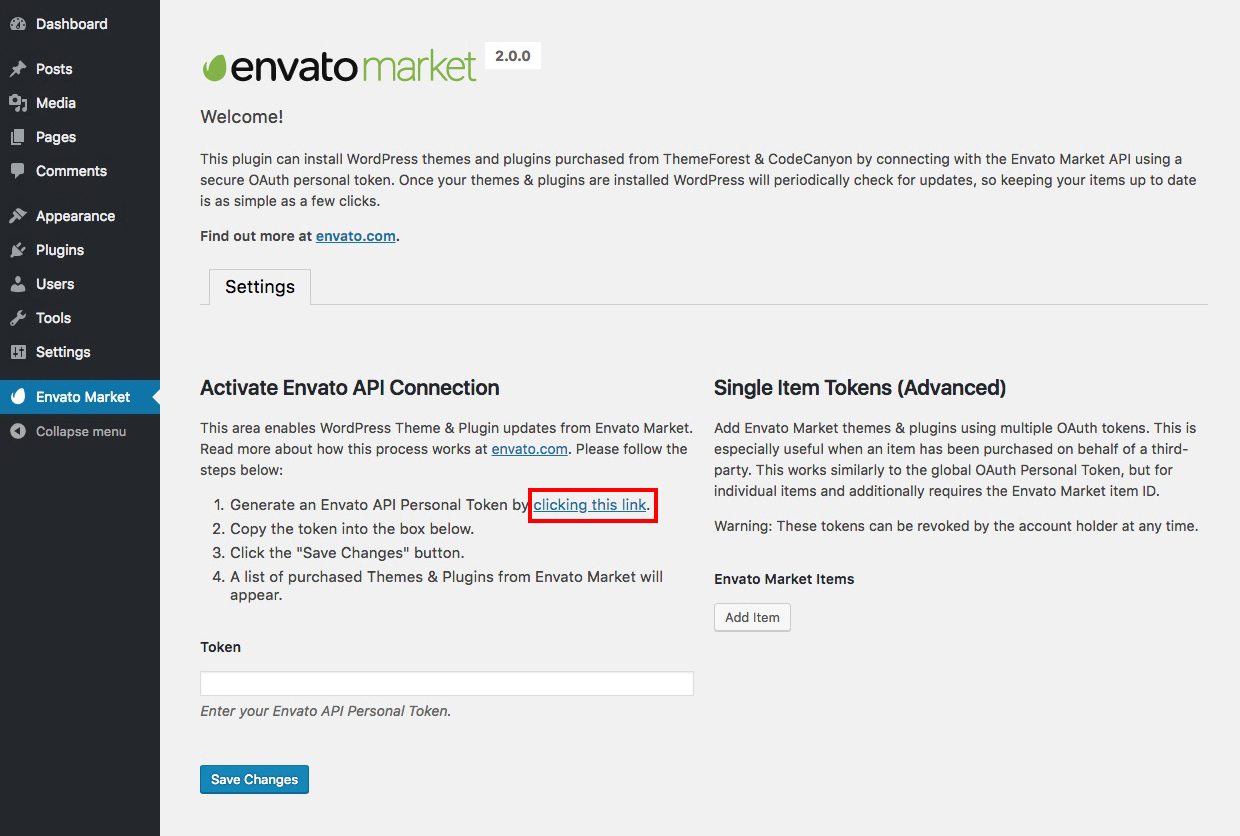
- Visit the new “Envato Market” menu item
- You should see a screen similar to the bellow. The very first step is to create an Envato API token. To do this, click on the generate a personal token link (highlighted in red bellow).
- If you’re already logged into your Envato account you’ll be taken to the screen bellow (otherwise you will be prompted to login first before being redirected to this page). On this screen you can see what the Envato Market plugin is requesting permission to access via your Envato account (Envato sites, the ability to download your items, a list of your purchases and verification of your purchases).
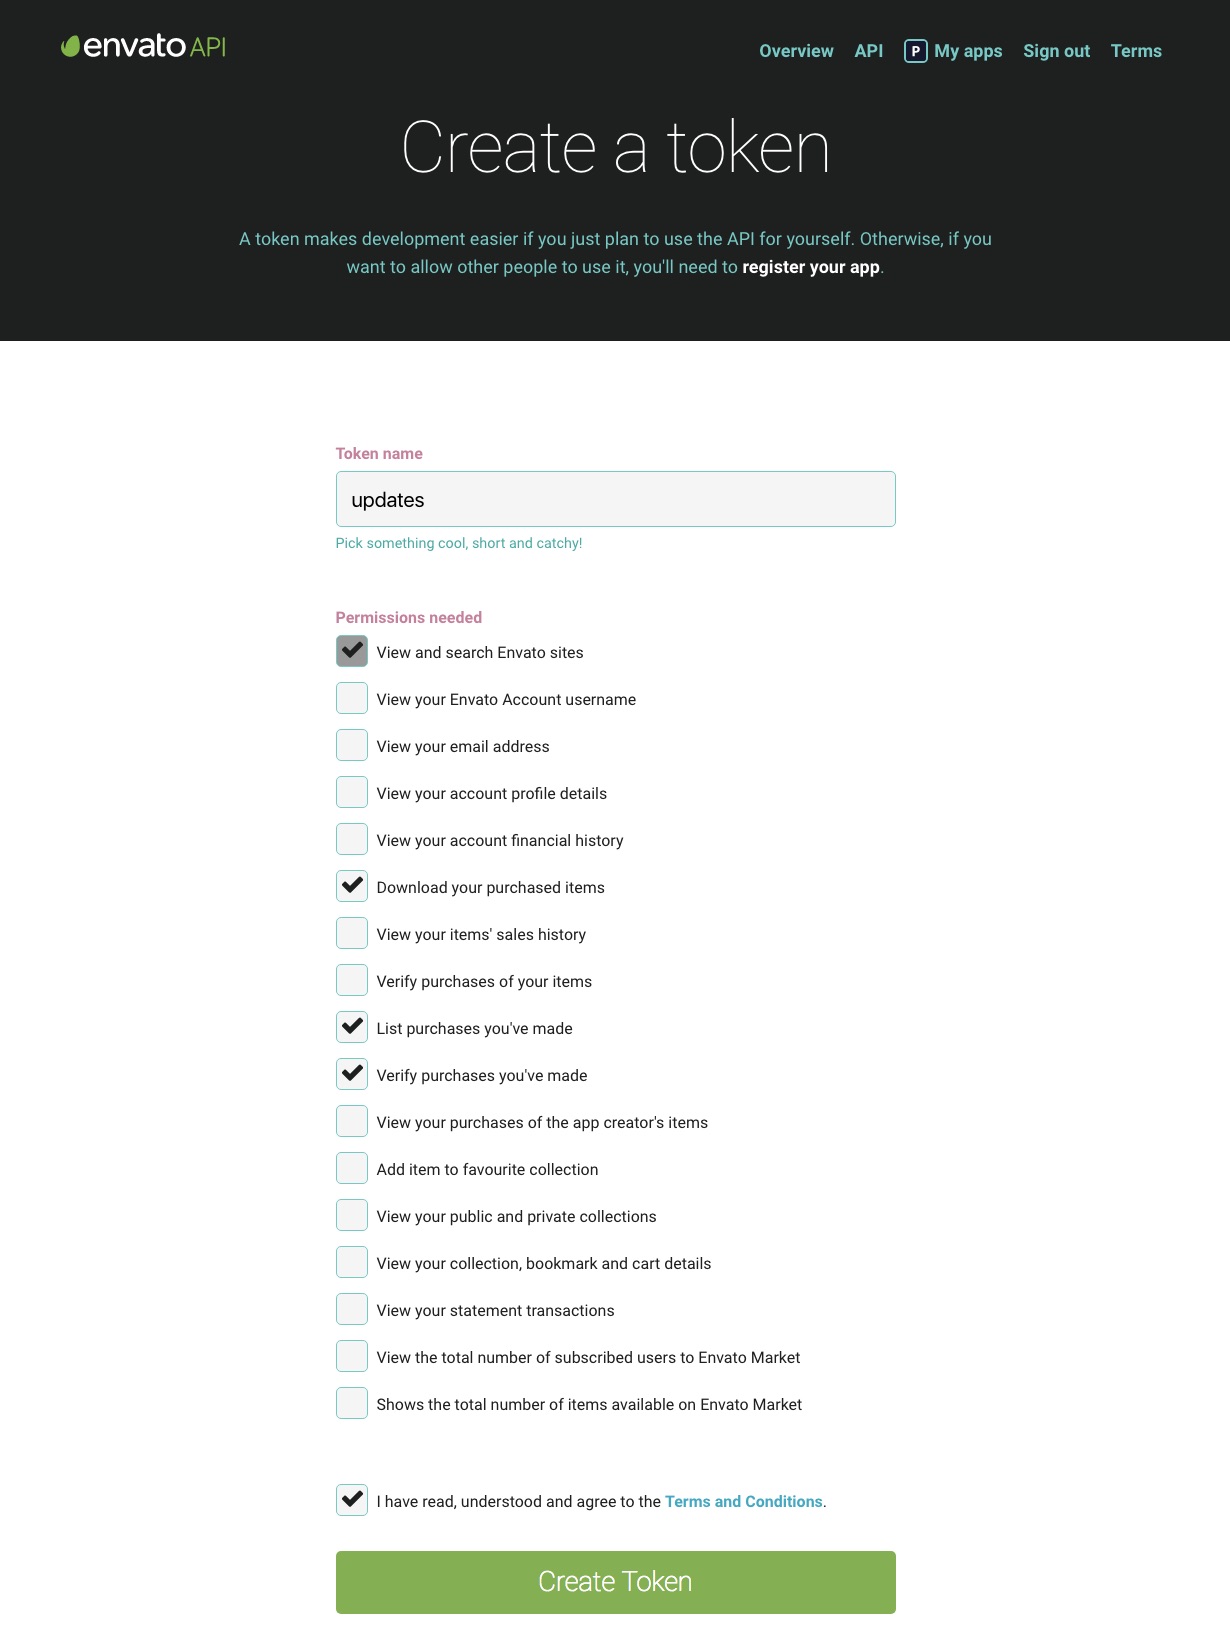
- To proceed give your token a name, check the box that you have read and agree to the terms and then click the green button to create your token.
- Once your token is created you will see a green success screen. Copy your token code (this is very important since Envato doesn’t store a copy of the token for you), check to confirm that you’ve copied it and click the white button that you got it.
- Now go back to your WordPress installation and paste in your Envato API token then click save.
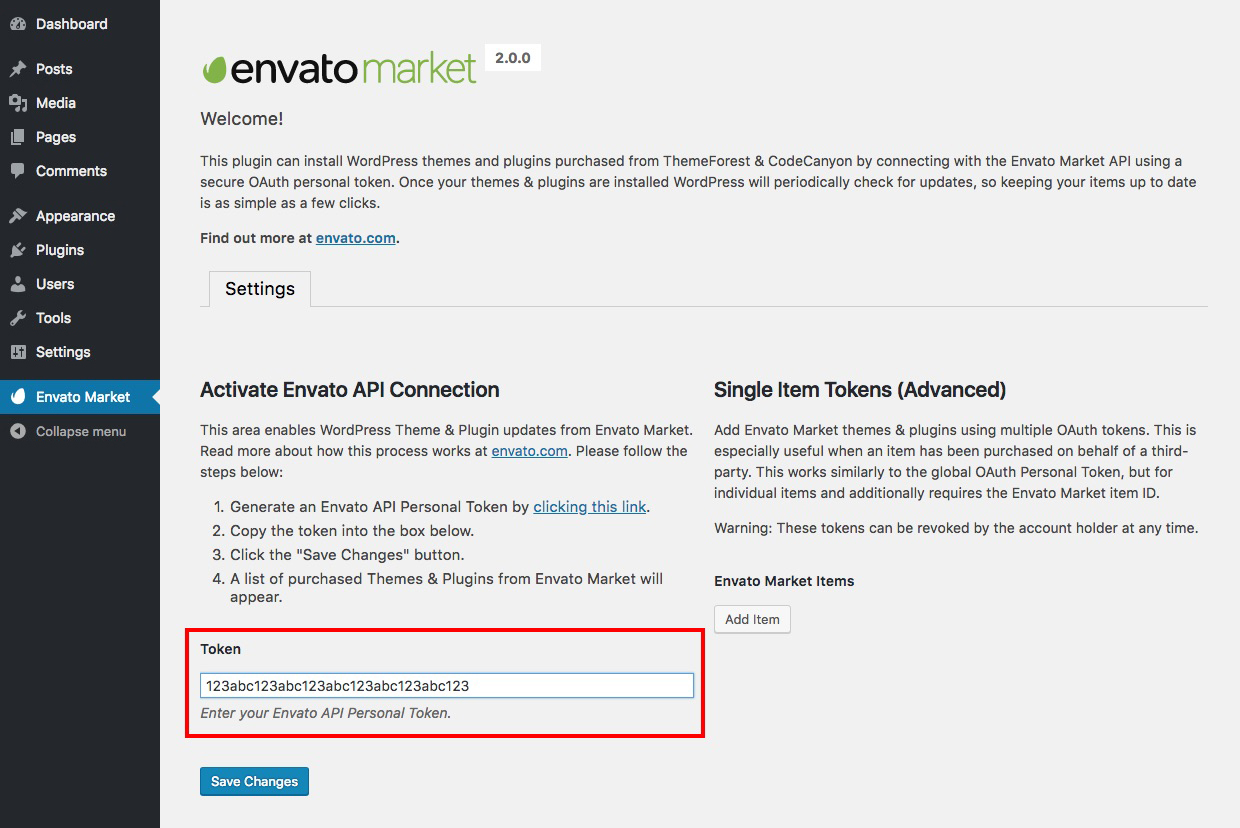
- Once your token is saved and validated your page will refresh to show your Envato Market landing page with added tabs for your items. The added tab(s) display all of your theme and plugin purchases as well as their version numbers and quick links to the theme and author pages.
Method 2: Update using WordPress uploader
-
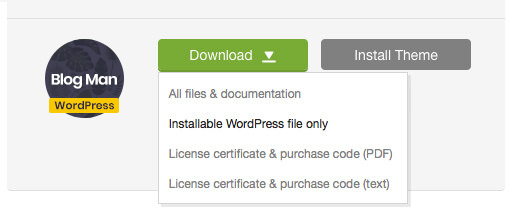
Log into your ThemeForest account and navigate to Downloads tab. Find the theme and download Installable WordPress file only.
- Log into your WordPress website and go to Appearance > Themes.
- Activate a default WordPress theme. Delete the older version of your theme and re-upload the new WordPress Installable files that you have downloaded from ThemeForest during the 1st step.
-
Once it is uploaded, activate the theme.
IMPORTANT! If you're using a child theme, do not activate the newly uploaded parent theme. Activate your old child theme instead. Otherwise, all the child theme customizations will be lost.
Method 3: Update using FTP client
- Log into your ThemeForest account and get the last version of the theme as described above.
- Connect to your server using desktop client software (we recommend Filezilla and CyberDuck).
- Go to /wp-content/themes directory
- Remove/rename existing folder with old theme files.
- Unpack theme installable files downloaded from ThemeForest and upload them to the themes folder.