Qualta
Responsive WordPress Blog Theme
- by: Awaiken
- themeforest.net/user/awaiken
- email: support@awaiken.com
Thank you for purchasing our WordPress Theme. If you have any questions that are beyond the scope of this documentation, please feel free to email us via our contact form on our profile page http://themeforest.net/user/awaiken or via email support@awaiken.com
About The Theme
Theme Requirements
- WordPress v4.8 or higher
- PHP 5.3.2 or higher and MySQL 5 or higher
- Memory limit (memory_limit) should be atleast 128MB
- Maxium File Upload size (upload_max_filesize) should be atleast 32MB
Theme Installation
1) Using WordPress Theme Upload
- Login to your WordPress admin.
- In the "Appearance > Themes" menu click the tab "Install Themes"
- At the top of the page click, "Upload", then click the file input to select a file.
- Select the zipped theme file, "qualta.zip", and click "Install Now"
- After installation you will receive a success message confirming your new install.
- Click the link "Activate"
2) Uploading by FTP
- Login to your FTP server and navigate to your WordPress themes directory. Normally this would be "wp-content/themes"
- Extract the files from the zipped theme.
- Copy the folder "qualta" to your themes directory.
- After the files finish uploading, login to your WordPress admin.
- In the "Appearance" menu click "Themes"
- Click "Activate" for the theme "qualta"
Install Required Plugins
- Click on "Begin installing plugins". Or go "Appearance > Install Plugins".
- You will see list of plugin need to be installed. Now, check all plugins & select bulk options "install" and click "Apply".
- All plugin will be installed. Now, Click on "Return to Required Plugins Installer".
- We need to active plugins. Now, check all plugins & select bulk options "Active" and click "Apply".
- Click on "Return to the Dashboard" .
Import Demo Data
IMPORTANT NOTE: If your site is running than you no need to import demo content. You have to Regenerate Thumbnails and for that install Regenerate Thumbnails plugin and go to admin > Tools > Regen. Thumbnails > Click button "Regenerate Thumbnails For All Attachments" and wait for it until it's done 100%
- Go to the admin area "Appearance > Import Demo Data".
- Now, Click on "Import Demo Data" button.
Theme Options
This section provides overview of the theme options configuration. It will help you get started quickly by introducing the theme structure and settings. Theme Options are located in "Appearance > Customize"
Home page sections options, available in corresponding to the options in "Admin > Appearance > Customize" . See the following image
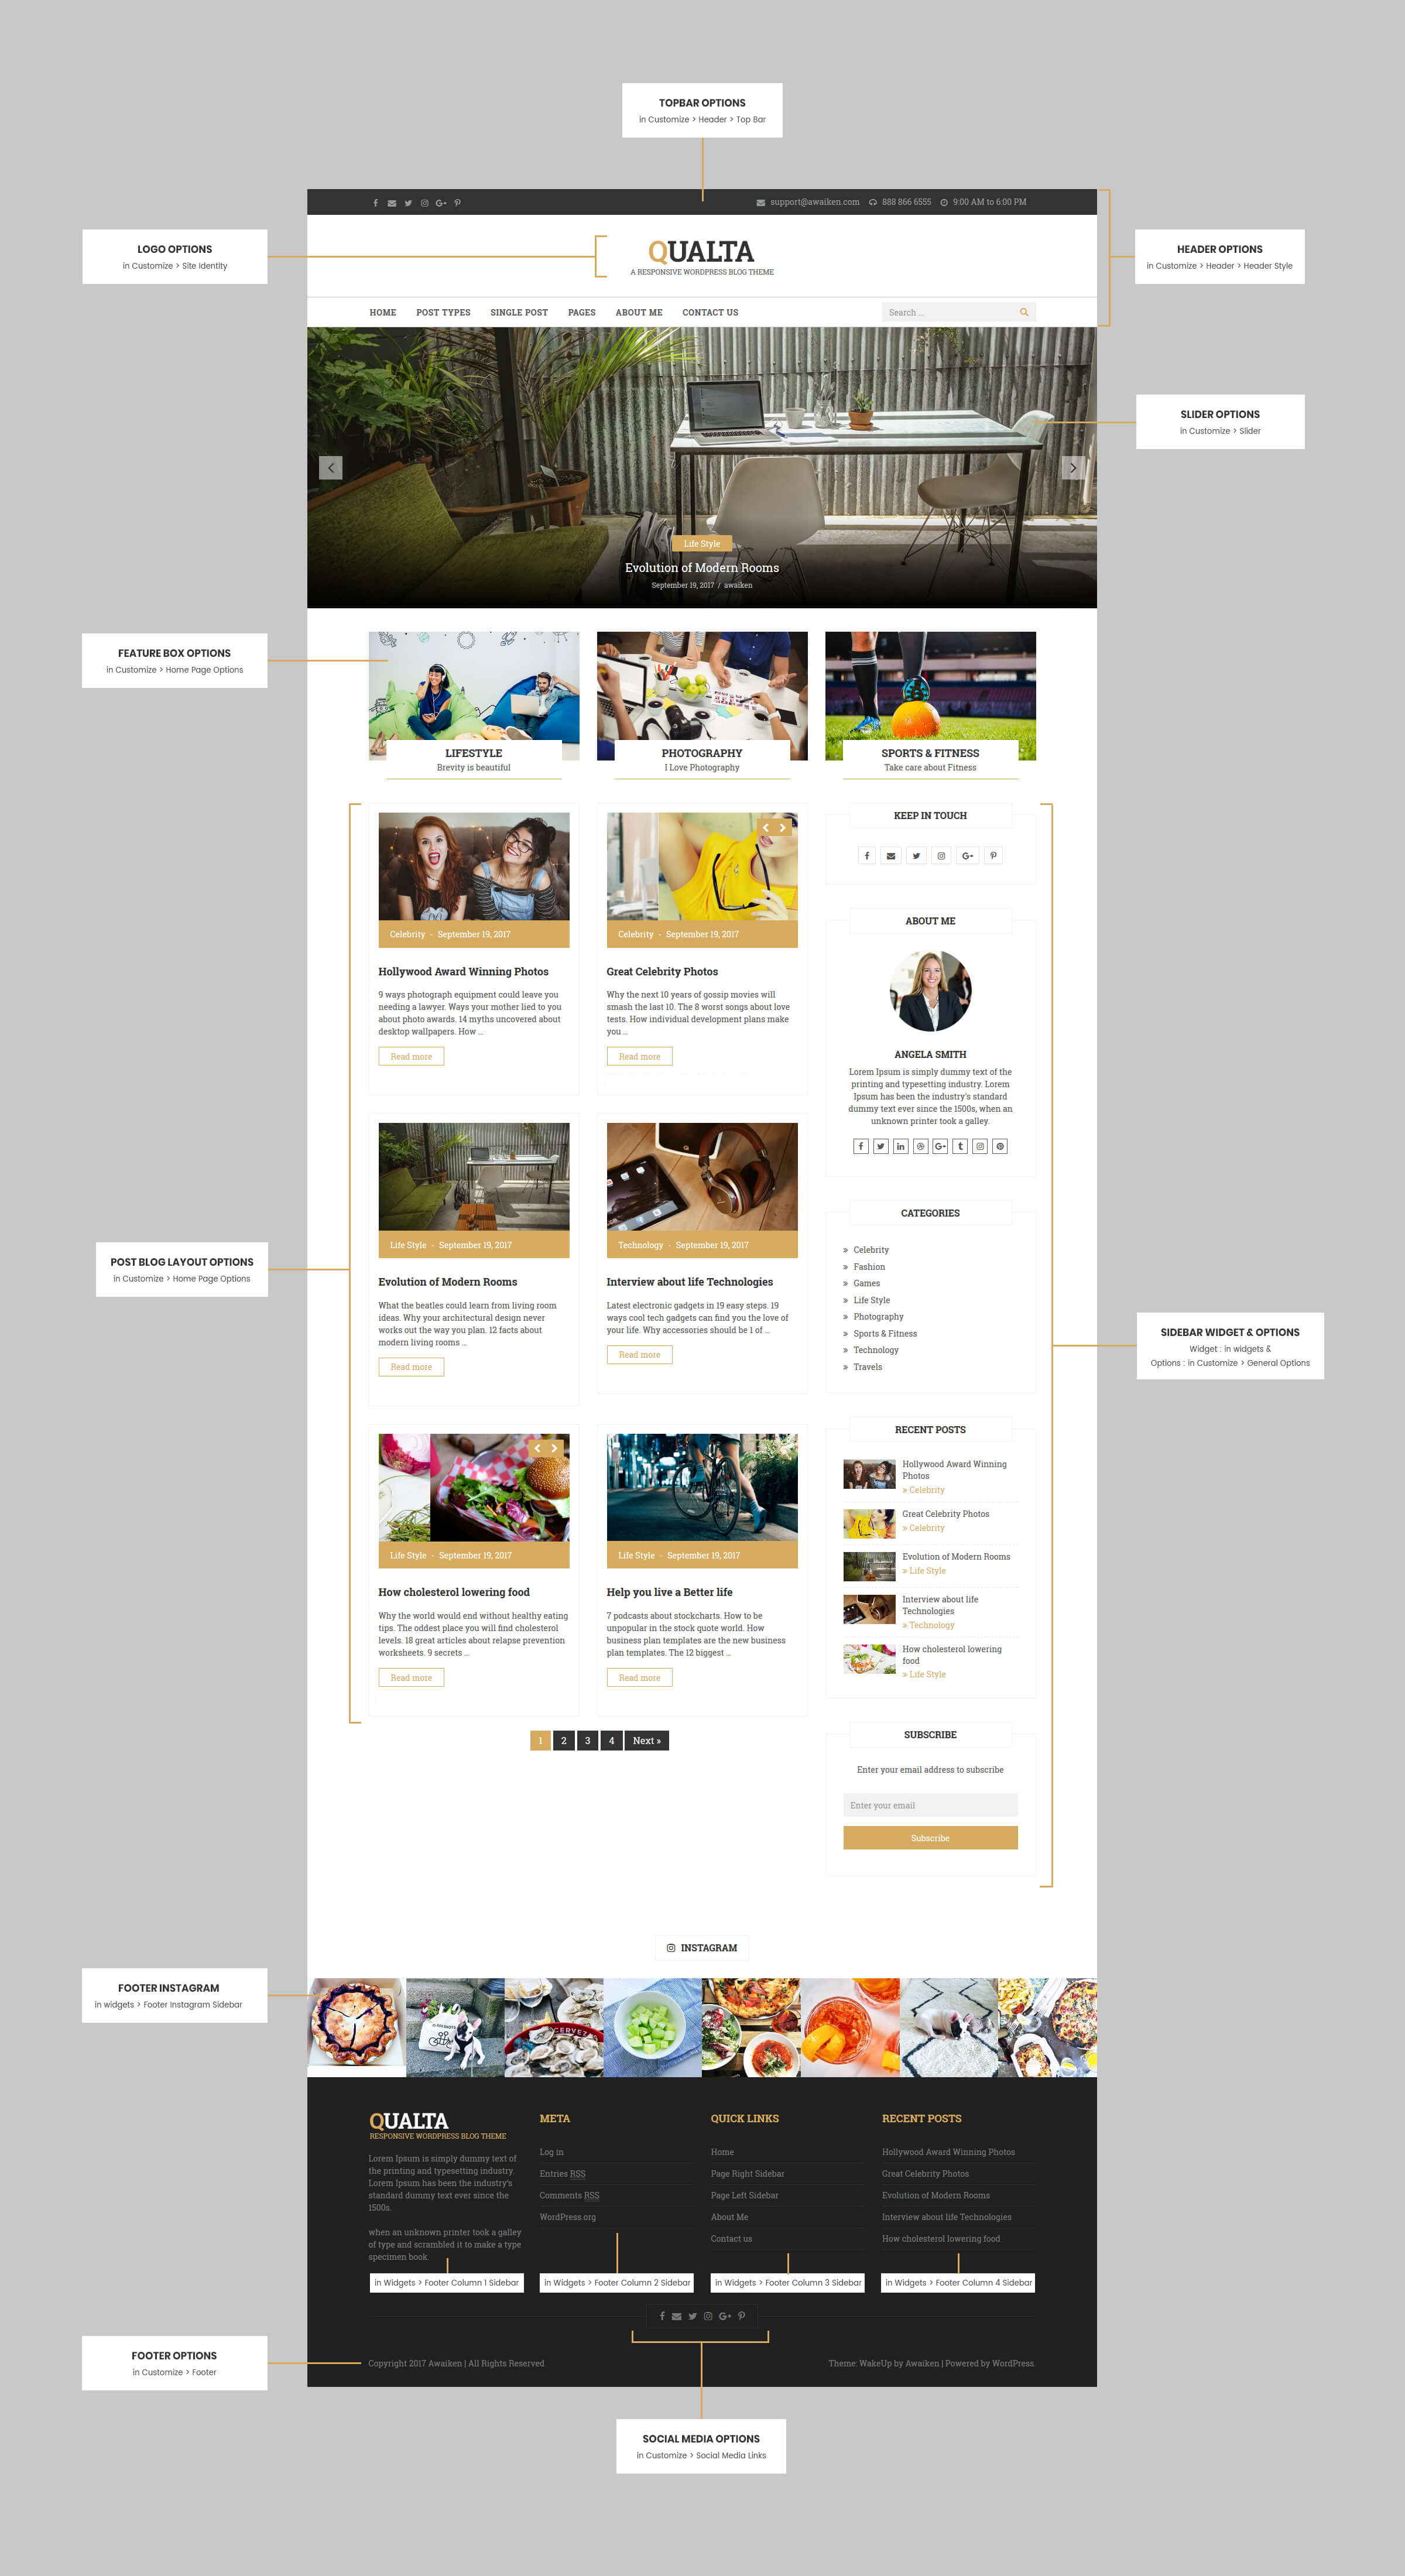
Theme Options (Appearance > Customize)
-
Site Identity

-
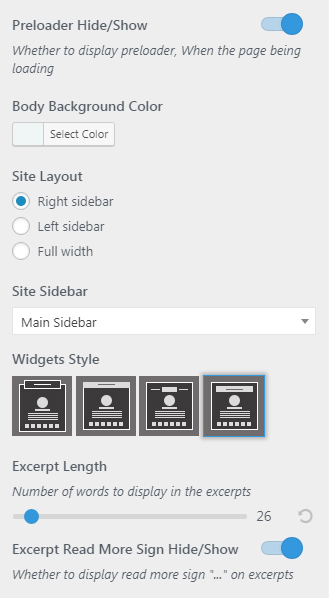
General Options
-
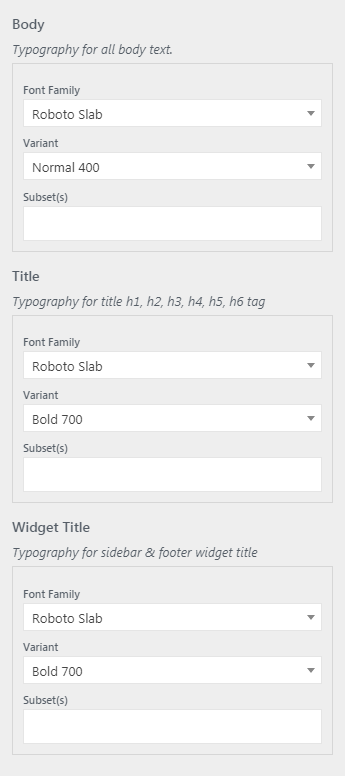
Typography
-
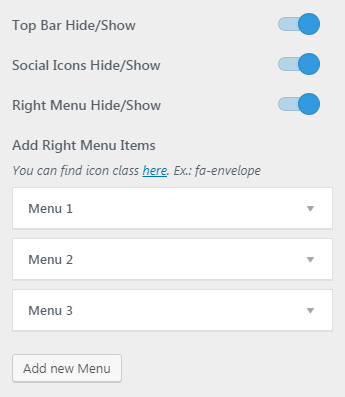
Header


-
Footer
-
Slider

-
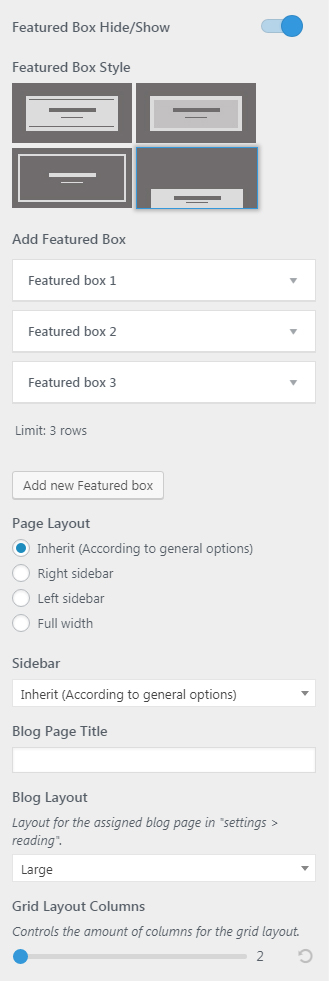
Home page Options
-
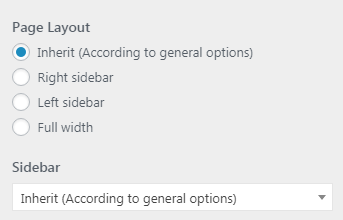
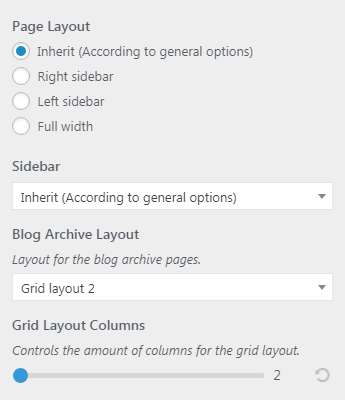
Page Options
-
Blog Archive Page Options
-
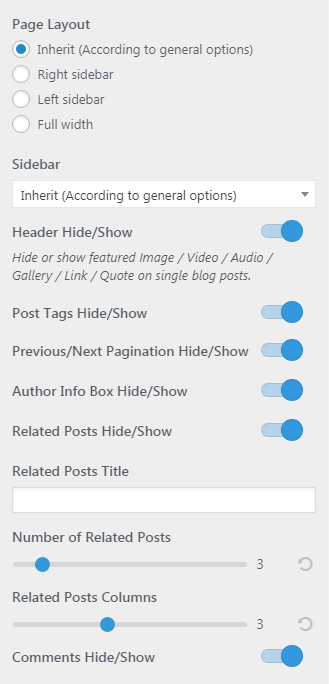
Blog Single Page Options
-
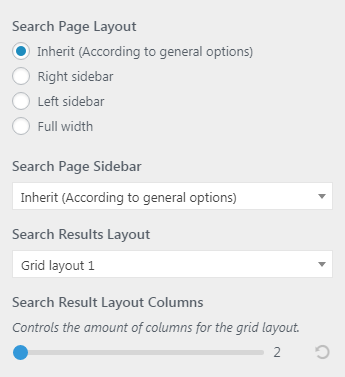
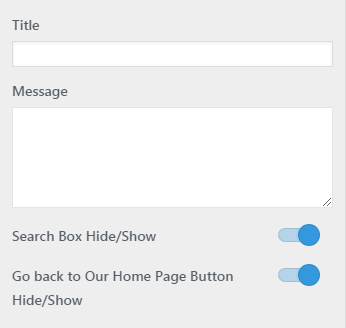
Search Page Options
-
Contact Page Options

-
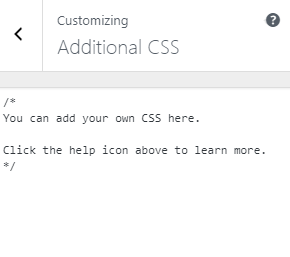
Additional CSS
-
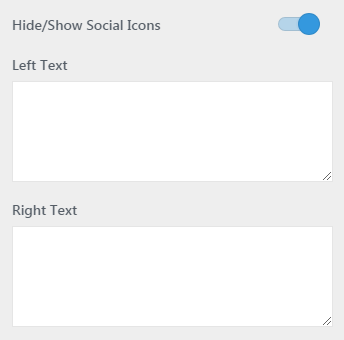
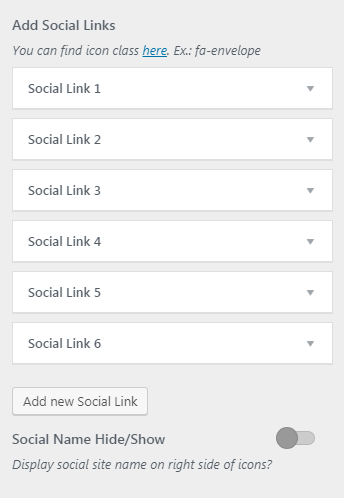
Social Media Links
-
404 - Not Found
Widgets
Posts
Contact Form 7
If you have imported demo
If you have not imported demo
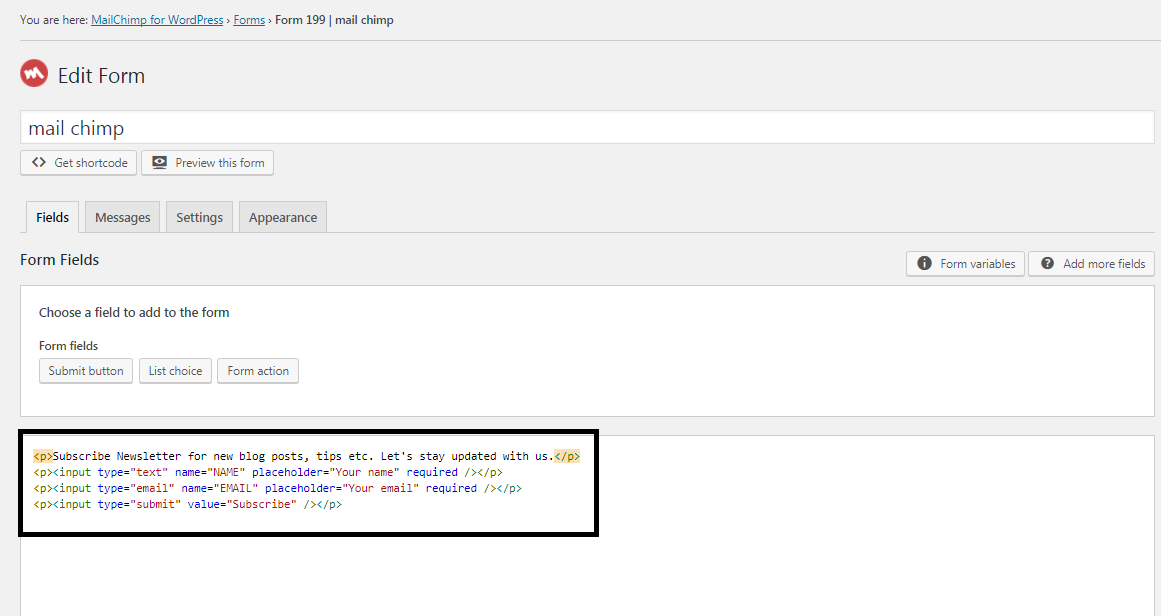
Setup MailChimp